Guides
How a Sloping Block Project Runs From Brief to Handover
What to expect at each stage of a steep-block residential landscape project — consultation, engineering, council permits, retaining build and planting establishment.
We often find that severe terrain changes cause the most confusion during a project.
A steep site typically requires specific engineering, stricter council regulations, and careful water management.
Our team handles these exact site challenges daily across Melbourne’s hilly eastern suburbs. Let’s look at the practical steps, the data behind them, and explore the complete sloping block design and build process from start to finish.
Stage One: Consultation and Site Read (Sloping Block Design and Build Process)
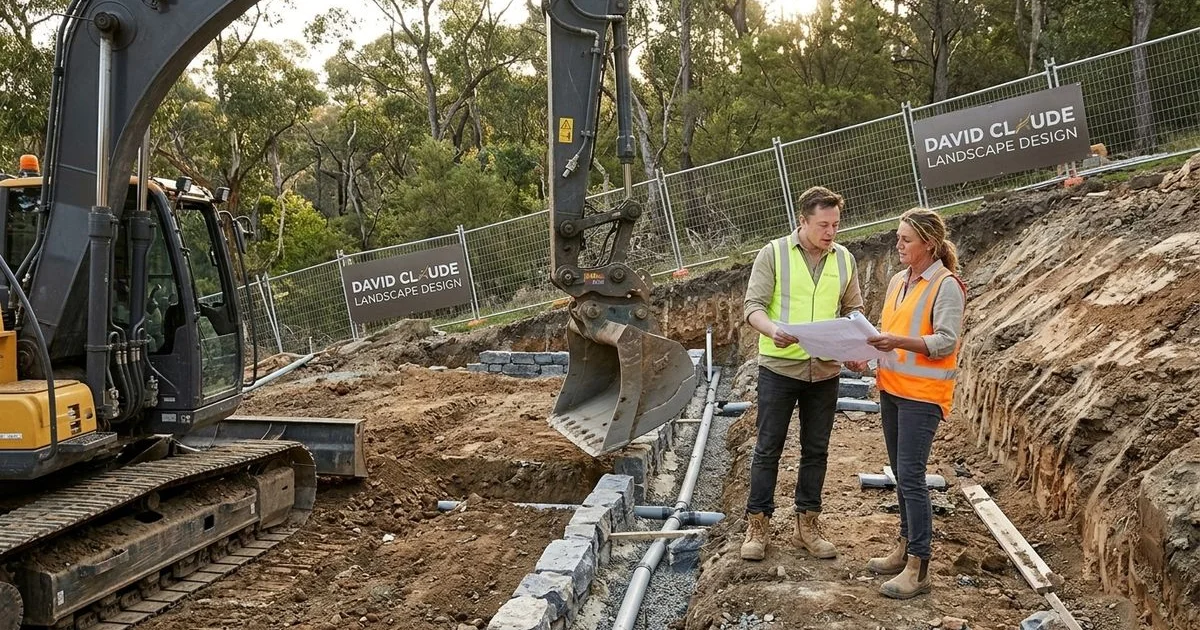
We begin every sloping site landscape build with a paid on-site consultation to define the exact scope. The principal designer walks the slope, takes pace measurements, and reads the drainage and soil conditions.
Our site read identifies the necessary council-permit pathway and the engineering input required to match your brief and budget. This initial step results in a clear, written fee proposal for the design stages.
During a typical Manningham or Banyule consultation, the site read focuses on specific local factors.
- Gradient changes: We map exactly where the slope shifts across the block.
- Drainage patterns: Surface and sub-surface water movement dictates where we place retaining structures.
- Neighbouring boundaries: We assess the impact of new levels on adjacent properties.
- Vegetation overlays: We identify trees that trigger a removal application under local Vegetation Protection Overlays (VPO) or Significant Landscape Overlays (SLO).
- Construction access: Heavy machinery needs a clear, safe path to the work zone.
A 2026 check of local planning schemes shows that properties in eastern suburbs frequently fall under an Environmental Significance Overlay (ESO). This means even minor earthworks might require a permit.
We always verify these details through VicPlan before proposing any heavy soil cuts.

Stage Two: Concept Plan
The concept stage produces a 2D plan showing terrace levels, retaining positions, drainage runs, hardscape zones, planting zones, and circulation. This phase usually takes four to six weeks for a steep block construction process.
Our designers use the existing contours to dictate where the terraces fall and how the retaining walls step down the gradient. You can expect two to three rounds of iteration during this contour-driven process.
To give you a clear comparison, here is how a sloping block concept differs from a standard flat block.
| Design Element | Standard Flat Block | Sloping Block |
|---|---|---|
| Retaining Walls | Minimal or none | Extensive, stepped structures |
| Drainage | Standard surface fall | Complex sub-surface networks |
| Iteration Time | 2 to 3 weeks | 4 to 6 weeks |
Modern concept plans rely on accurate topographical data to prevent costly mistakes later. We often pull initial property data from state sources like VicPlan to establish a baseline before surveyors map the exact levels.
Our final deliverable is the documented direction the rest of the project follows. This documentation guarantees everyone understands the vision before engineering begins.
Stage Three: Engineering and Documentation
Documentation produces construction drawings, a planting plan, and the engineering certificates required by your local council. This stage typically takes 6 to 10 weeks, as sloping blocks require extra engineering coordination loops.
Our team manages these technical requirements so you do not have to worry about missing critical compliance details. In Victoria, the Building Regulations 2018 mandate that any retaining wall exceeding one metre in height requires a structural engineer and a building permit.
We also bring in geotechnical experts if the soil profile or gradient demands it. Another major factor in areas like Nillumbik or Manningham is the Bushfire Management Overlay (BMO). Properties inside a BMO require specific compliance documentation.
- Bushfire Management Statement (BMS): We must submit this statement for the planning permit, detailing vegetation hazards within 150 metres.
- Drainage Drawings: Sloping sites need precise plans for the ag-line network and surface-water management.
- Structural Load Engineering: A wall under one metre still needs engineering if it supports a driveway or boundary fence.
Our documentation ensures every structural element meets the Building Code of Australia standards. This rigorous process prevents issues like leaning or collapsing walls down the track.
Stage Four: Construction Quote and Permits
An itemised construction quote immediately follows the documentation phase. We submit council permit applications on your behalf once you accept the quote.
Permit timelines vary significantly based on current council loads. You should generally expect a wait time of 4 to 12 weeks for processing. Our experience shows that planning permits for significant vegetation removal often take longer than standard building permits.
- Building Permits: Required for retaining walls over one metre or structures carrying loads.
- Planning Permits: Often triggered by local tree overlays or BMO compliance statements.
- Protection Works Notices: Necessary if your new wall sits near a neighbour’s boundary.
Construction absolutely cannot start until all permits are in hand. We never take shortcuts with this legal requirement.
Starting work without the proper approvals creates immense financial and legal risk. For example, Victorian Building Authority (VBA) regulations strictly require a registered domestic builder for structural landscaping work valued over $16,000. We ensure all paperwork is flawless before a single shovel hits the dirt.
Stage Five: Construction
The construction sequence on a sloping block requires extreme precision to maintain soil stability. A typical steep residential build takes between four and eight months to complete.
Our project managers follow a strict, eight-step process to ensure structural integrity and proper water flow. For cost expectations at each project size, you can review our detailed cost guide.
Here is the exact sequence used on site.
- Site protection and access: Install silt fencing, secure temporary access, and set up tree protection zones around significant native trees.
- Cut and fill: Heavy machinery shapes the new terraces according to the contour plan.
- Drainage install: Lay 100mm slotted ag-lines, drainage stone, and geotextile fabric before any wall construction begins.
- Retaining build: Construct wall by wall, ensuring each section is fully drained behind before starting the next.
- Hardscape: Install the heavy elements like paving, paths, and structures.
- Soft landscape: Complete thorough soil preparation, planting, spreading mulch, and laying the irrigation network.
- Lighting: Run cables and install fittings if specified in the design.
- Establishment: Commission the irrigation system and initiate the planting establishment care plan.
”Proper drainage behind a retaining wall is the single most important factor in preventing structural failure on a steep gradient.”
Our team monitors the heavy machinery work closely to prevent accidental damage to the protected vegetation zones. This careful attention to detail keeps the site compliant with all safety regulations.
Stage Six: Handover and Establishment
Handover includes a comprehensive walkthrough with the principal designer. We provide a detailed planting establishment plan that covers your new irrigation schedule and mulch top-up timing. This session ensures you know exactly how to care for your new landscape.
You will receive a complete project file containing all engineering certificates, warranties, and final plans. Our standard establishment guarantee for planting runs for 18 months. Premium specifications often include an extended guarantee period for added peace of mind.
To help your new garden thrive in Victoria’s variable climate, we provide specific seasonal maintenance recommendations.
- Summer irrigation: Guidelines for adjusting water output during heatwaves.
- Winter drainage: Tips to monitor surface water flow during heavy July rains.
- Spring fertilization: Schedules for feeding new structural plants and retaining wall climbers.
This final stage concludes the sloping block design and build process, leaving you with a secure, beautiful, and fully compliant outdoor space. If you are ready to discuss your challenging terrain, contact David Claude Landscape Design today to book your initial site consultation.